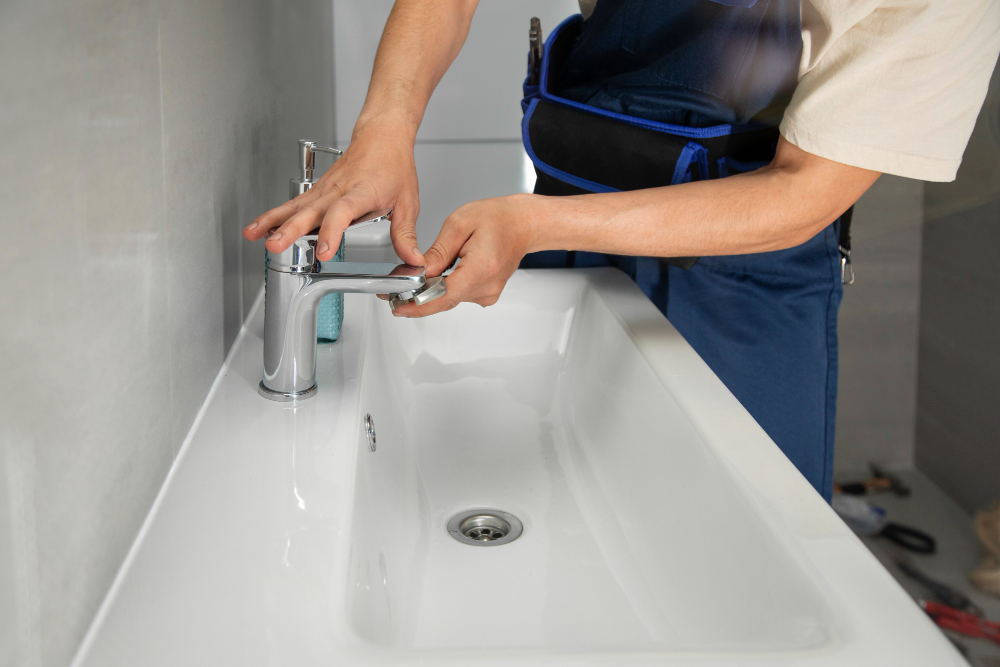
So, you have bought the perfect 3-hole sink faucet and are now ready to install it. How do you start? What should you do? Installing it is a pretty straightforward process—even beginners can do it.
Table of Contents
ToggleCost to Install a Bathroom Faucet
The cost of installing a 3-hole sink faucet can vary depending on several factors.
One, hiring a professional plumber will typically cost significantly more than installing it yourself. Plumber rates vary depending on your location, experience, and the complexity of the job. They typically charge between $45 and $200 per hour, with the total labor cost ranging from $50 to $500.
If you’re doing it yourself, you might need to purchase additional materials like plumber’s tape, which can cost around $5 to $10.
Remember that these are just estimates. The actual cost can be higher or lower depending on your specific circumstances.
Initial Preparation
You don’t want to waste your time looking for tools while you’re installing the faucet. So before you start, gather all the tools you will need: adjustable wrench, basin wrench (optional), screwdrivers (flathead and Phillips), bucket, plumber’s tape, putty knife (for removing old sealant), rags, and safety glasses.
Also, turn off the water supply. Some faucets may also require minor assembly before installation. Assemble it beforehand by following the manufacturer’s instructions for your specific model.
How to Install a Bathroom Sink Faucet
Step 1: Remove the Old Faucet (If Applicable)
- Place a bucket under the sink to catch any dripping water.
- Using the adjustable wrench, loosen and disconnect the water supply lines from the old faucet.
- Unscrew the mounting nuts holding the faucet to the sink from underneath.
- Carefully lift the old faucet out of the sink.
- Clean the sink surface and faucet holes with a damp cloth, removing any old sealant or debris.
Step 2: Install the Faucet Spout
- Apply the plumber’s tape to the threads of the spout’s shank according to the manufacturer’s instructions.
- Insert the spout through the center hole of the sink.
- From underneath the sink, thread the mounting nut onto the shank and hand-tighten it.
- Use the basin wrench or adjustable wrench to tighten the nut securely, but avoid overtightening.
Alt-text: A diagram showing the parts of a 3-hole bathroom sink faucet
Step 3: Install the Faucet Handles
- Place the faucet handles (hot and cold) into their respective holes on the sink.
- From underneath the sink, slide the mounting washers and nuts onto the threaded shanks of the handles.
- Hand-tighten the nuts, then use the wrench to tighten them securely.
Step 4: Connect the Water Supply Lines:
- Wrap a few layers of plumber’s tape around the threads of each water supply line.
- Screw the water supply lines onto the corresponding hot and cold water valves under the sink. Tighten securely with the wrench.
- Connect the other ends of the water supply lines to the corresponding hot and cold inlets on the faucet body. Tighten securely with the wrench.
Step 5: Test for Leaks
- Turn on the water supply valves under the sink slowly.
- Check for leaks at all connection points, including the faucet spout, handles, and water supply lines.
- If you find any leaks, tighten the connections or use additional plumber’s tape as needed.
Step 6: Finalize the Installation
- Once you’ve ensured there are no leaks, wipe away any excess water and tighten any loose parts.
- If your faucet uses a spray hose, follow the manufacturer’s instructions to connect it properly.
Need More Help?
And that’s how to install a bathroom sink faucet. Visit our website for more tips or contact us if you’re looking for quality and affordable 3-hole sink faucets.


