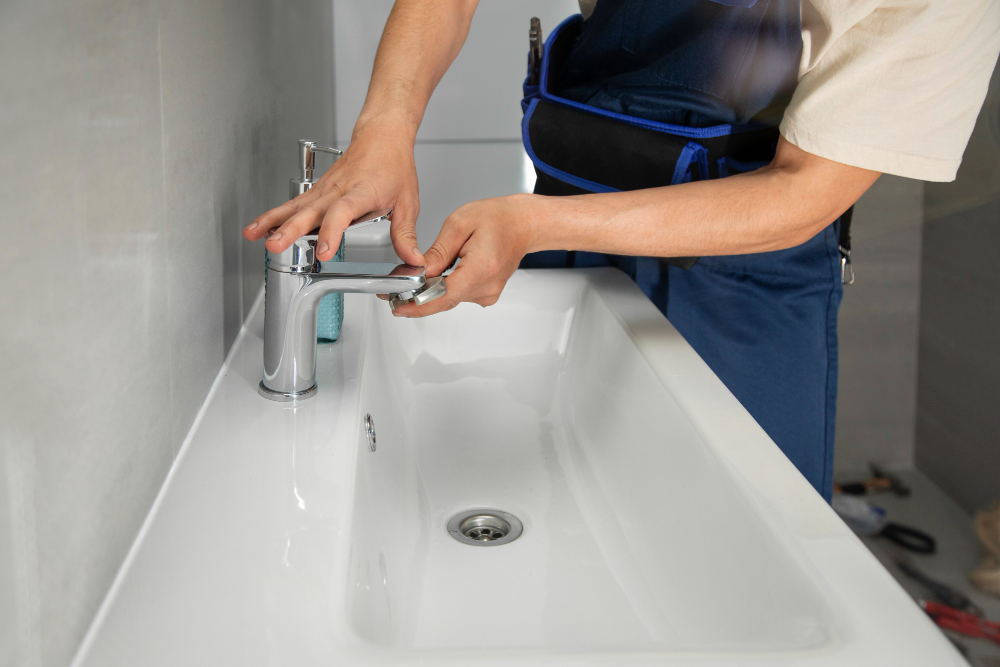
While most people might assume faucet problems arise solely from wear and tear, the installation process itself can introduce a few common issues.
What are the common faucet installation problems you’ll likely encounter? The three most common faucet installation problems are leaks, low-water pressure, and loose faucet handles.
Table of Contents
Toggle1. Leaks
Leaks are the most frequent uninvited guest during faucet installation. They can stem from various culprits: plumber’s tape, loose connections, and damaged faucet components.
Plumber’s tape is an essential material that creates a watertight seal on threaded connections. Without it, leaks can happen.
The solution? Ensure you wrap the threads on the faucet shank with two to three layers of plumber’s tape in a clockwise direction for a snug seal.
Aside from not using Plumber’s tape, loose connections can also lead to water leaks. To prevent this, double-check that all connections—particularly around the faucet base and shutoff valves—are tightened securely using appropriate wrenches.
| Pro-tip: While a firm grip is essential, avoid over-tightening, as it can damage the components. |
Damaged faucet components can also lead to water leaks. Before installation, inspect the faucet for any cracks or flaws. If you find any, replace the faucet to avoid future headaches.
2. Low Water Pressure
If you experience low water pressure after installation, don’t despair! Here are some potential causes:
- Clogged Aerator
This screen attached to the faucet spout regulates water flow and creates a smooth stream. Unscrew the aerator and clean it with vinegar and water to remove any debris that might be restricting the flow.
- Shutoff Valve
Ensure the shutoff valves are fully open to allow unrestricted water flow. Check the handles—they should be parallel to the water supply line for a fully open position.
- Water supply line
If the problem persists, there might be an issue with the water supply lines themselves. In such cases, consulting a licensed plumber is recommended for a proper diagnosis and solution.
3. Loose Faucet Handle
A loose handle can be frustrating, but it’s often a simple fix. Locate the handle screws (usually hidden under a decorative cap) and tighten them gently with a screwdriver. Be mindful not to over-tighten, as this can damage the screws or the handle itself.
Over time, O-rings, which are small rubber rings that create seals within the faucet, can wear out and cause the handle to become loose. If tightening the screws doesn’t resolve the issue, consider replacing the O-rings.
Testing for Leaks
Once you’ve completed the installation, it’s crucial to test for leaks. Here’s how:
- Turn on the water supply slowly and carefully inspect all connections for leaks. Pay close attention to areas where water pressure is high, such as around the faucet base and the shutoff valves.
- For added peace of mind, place a towel under the faucet overnight. This will help you identify any slow leaks that might not be immediately apparent during a visual inspection.
Still Have Problems?
If you encounter any of these issues and feel unsure about tackling them yourself, don’t hesitate to consult a licensed plumber. Their expertise can ensure a safe, proper, and leak-free installation, saving you time, frustration, and potential water damage in the long run.
Visit our website for more tips like this or contact us if you’re looking for quality and affordable faucets.


