Table of Contents
ToggleHow to Install Rainfall Shower Head
Tools you’ll need to install your rainfall shower head at home:
- Ladder
- Clean cloth
- Safety goggles
- Thread seal tape
- Rubber sealing washer
- Adjustable wrench or pliers
Step 1: Shut the water supply off
Turn off your bathroom’s supply lines or the main one before installing your rainfall shower head.
Step 2: Spot-clean the installation area
Be sure to clean the area with a clean cloth where your rainfall shower head will be installed.
Use a ladder to reach the installation area.
Step 3: Wrap the shower arm with thread seal tape
Wrap the shower arm with thread seal tape 3 to 4 times to ensure tight fitting when you’re screwing the shower head onto the shower arm.
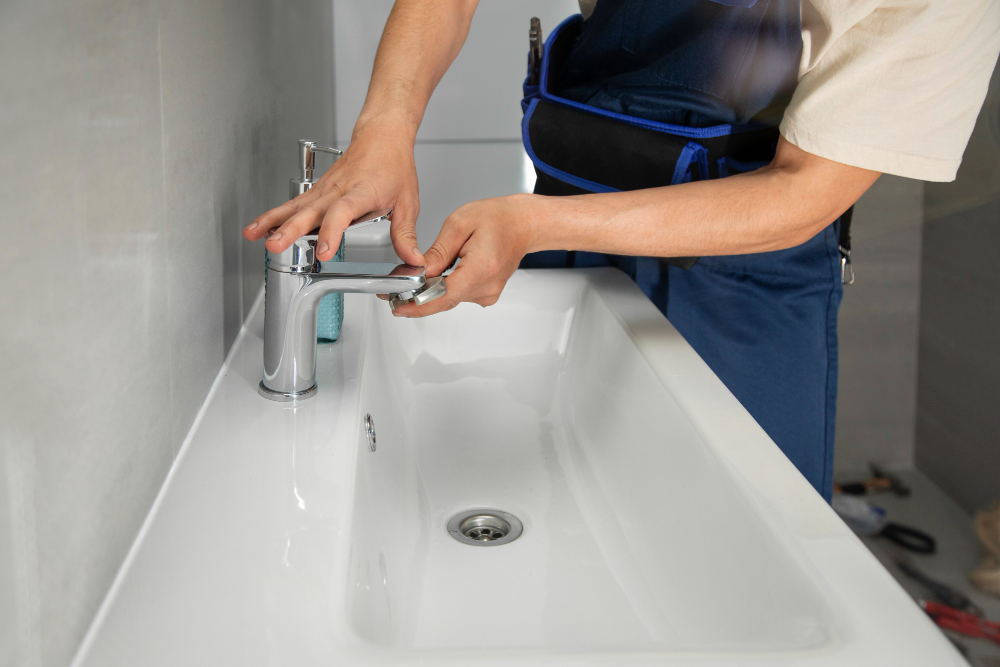
Step 4: Connect the shower head to the arm
Ensure that the rubber washer is seated inside the threaded area of the shower head before tightening it by hand or using an adjustable wrench or pliers.
Note: Some shower heads come in plastic fittings. So, be sure to tighten it by hand only to prevent breaking it.
Step 5: Perform a leak test
Open your water supply lines and check if water comes out of the rainfall shower head with no leaks on the arm.
How to Clean Rainfall Shower Head
Tools you’ll need on how to clean rainfall shower head without removing it at home:
- Plastic bag
- Rubber bands
- Old toothbrush
- Distilled white vinegar
- Soft microfiber cloth or paper towel
Step 1: Fill white vinegar into the plastic bag
Pour distilled white vinegar inside the plastic bag – just enough to cover the shower head but not overfill it.
Step 2: Submerge the shower head in the bag
Put the plastic bag over the showerhead, fully immersing it in the vinegar.
Add more vinegar whenever necessary.
Step 3: Secure the bag with a rubber band
Secure the bag by tying it with a rubber band or a hair tie around the neck of the shower head.
Be sure that the bag is not slipping from the shower head or leaking vinegar all over the place.
Step 4: Leave for several hours
Soak the shower head in the vinegar bag for several hours. Best to leave overnight for optimal cleaning results.
Note: Remove the vinegar bag after 30 minutes for brass, gold, or nickel-coated shower heads.
This is to prevent the vinegar from damaging the metal.
Step 5: Untie the bag and clean the shower head
Remove the vinegar bag from the showerhead.
Turn on your shower faucet and run hot water for a few minutes to rinse off dirt, grime, and vinegar residue.
Wipe the shower head with a clean cloth or paper towel.
For tougher stains and buildups, grab an old toothbrush and gently scrub the shower head to get mineral deposits and scums off the surface.
Run some hot water and buff it with a cloth until it shines. Repeat as desired.
Conclusion
Installing and cleaning a rainfall shower faucet isn’t that complicated – but completely necessary.
Doing it yourself comes in handy when you have the right tools and methods.
And for business owners out there looking for a long-term partnership, POPKB Inc is an industry leader you can reach out to.
They are one of China’s most trusted wholesale faucet factories with loyal clientele in the US.
Some of their best-selling products are the following:
POPKB Inc also offers great deals for wholesale businesses, such as the following:
- Quality-tested products
- Quick turnaround time and delivery
- Accepts low minimum order quantity (MOQ)
- Offers big discounts for large and bulk orders
Contact POPKB Inc through their customer service line today.